

This weekend I had an awesome opportunity to go to a SensatioNail Review Party
where I got to try out the SensatioNail gel nail polish and use their LED lamp
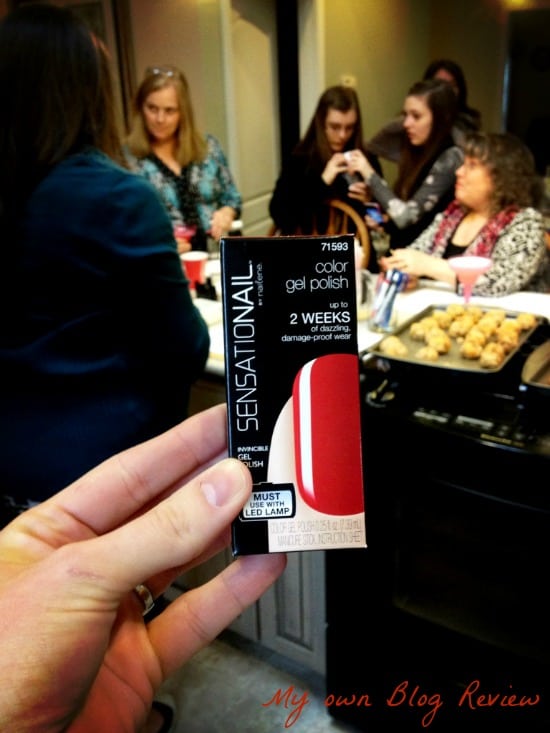
I chose Scarlet Red…I love a good red nail polish
This is a very true red, with a more orange tint then blue
Just what I was looking for

Sweeties Reviews provided the starter kits, which have everything you need. This kit lasts up to 10 manicures, after that you just need to purchase the Essential Kit {no need to buy another LED lamp}. They also have lots of individual colors to choose from.
You can check those out here.
You can even “try your color” on before purchasing.
I love having my nails painted but hate it when they chip so I’m really excited about this product. I have some friends who go to a salon and have this done…they spend $30 each time, not including tip. The starter kit costs $60 and lasts 10 manicures. It’s kind of a no brainer in my mind.
Plus, I hate waiting. Every time I go to the salon I have to wait at least 30 minutes, if not longer! So I’m all for doing things at home, myself
That’s why I love ombre hair color, I haven’t had to touch it up in over a year!
Some may call that lazy, I call it money conscious 😉 haha.
It’s starting to look pretty bad though!
Ok, ok, back to my SensatioNail Review!
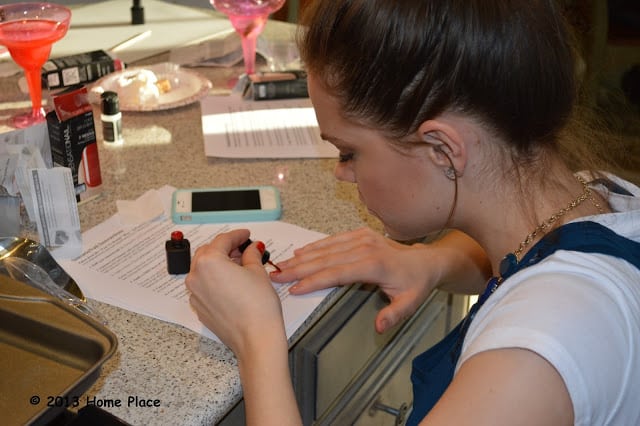
I “stole” this from my friend Bonnie over at Home Place Blogger
My ability to paint with my left hand is way better then it was a few years ago…thank goodness!
Gel Polish Application
- Lightly buff your nails, and remove any remaining dust
- Using a lint free wipe, clean nails with Gel Cleanser and allow to dry for 15 seconds
- Lightly apply one layer of Gel Primer and allow to dry for 15 seconds
- For easier removal apply only to the outer edges
- Apply a thin layer of the Gel Base & Top Coat to the clean, dry nail without touching the cuticle or skin
- Place nails into LED lamp and cure for 30 seconds
- Shake the Color Gel Polish. Apply a thin, even layer over the entire nail
- Place nails into LED lamp and cure for 60 seconds
- Apply a second layer of Color Gel Polish
- Place nails into LED lamp and cure for 60 seconds
- Apply a thin layer of the Gel Base & Top Coat, being careful not to touch the cuticle or skin
- Place nails into LED lamp and cure for 30 seconds
- Remove the moisture layer using the Gell Cleanser and Lint-Free wipes
For more instructions and information on How to use the SensatioNail Starter Kit click here
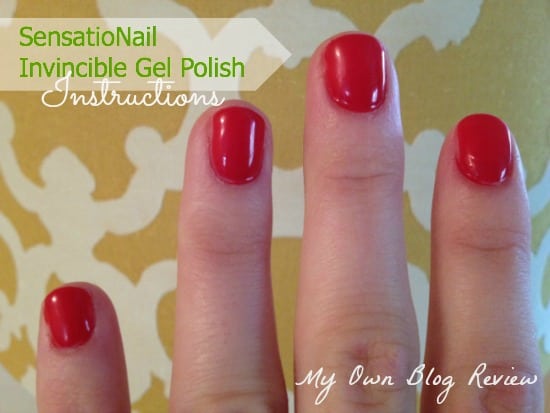
The first day I found myself being extra careful opening things, forgetting they were gel, now I go on with my day not worrying about chipping my nails at all. I love how secure my nails feel. I really don’t have to worry one bit about them chipping…and it lasts up to two weeks!
I love it!
What do you think?
Have you ever had gel nails before?
This is not a compensated post. All thoughts and opinions on the products are my own
This is not a compensated post. All thoughts and opinions on the products are my own


Beyond amazing. Love the effects you got! Thanks for the attribution!
– Jane
Gel nail polish kit
I purchased the SensatioNail Raspberry starter kit earlier this month & have absolutely fell in love with it. No more salon visits to get my nails done (only pedi’s). I’m hooked. Love my Gel nails.
Isn’t it awesome! You can do it on your feet too….I’ve seen a few people do that.!.
Love the inclusion of directions! (I wasn’t really that good at following them!)
I can’t believe two days later my polish is perfectly intact. This is truly a great product and it was so, so easy to do!
Thanks for the attribution! Will see you at the next event!
Can’t wait for the next event! 🙂